This Zombie Party Idea: Zombie Graveyard Pudding Cups (with free printable labels) shop has been compensated by Collective Bias and its advertiser. All opinions are mine alone. #SnackPackMixIns #CollectiveBias
Disclosure: This post contains compensated affiliate links which help support the work on this blog.
Halloween is huge in our house. Even our oldest daughter puts a request in at work each year to make sure that she doesn’t work on Halloween night. Her co-workers usually think she’s going out for a night on the town. Nope. She plans to be home with her mom and dad and siblings because knows we always have the best Halloween night planned.
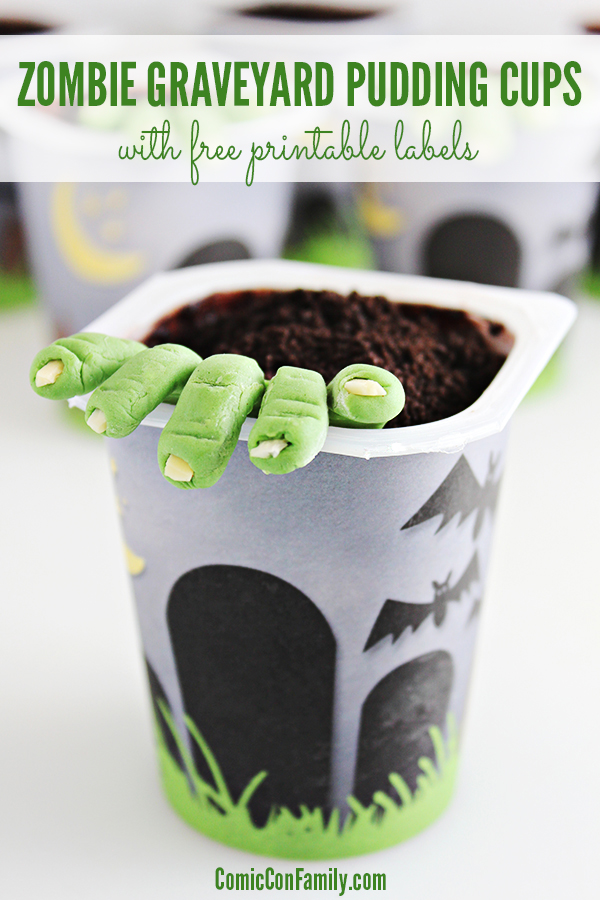
I’m excited to share one of our fun ideas with you today. If your family, or Halloween guests, consists of zombie fans like us, this is an idea that you will definitely want to do for Halloween: Zombie Graveyard Pudding Cups with free printable labels. In this post, I’ll show you how to can easily recreate this idea with just a few items. The best part? We’re talking zombies here, so if your result isn’t perfect (mine is NOT perfect), it’s no problem. If you’re a zombie fan, I don’t have to tell you that a zombie emerging from the ground isn’t a pretty sight either!
To make your own Zombie Graveyard Pudding Cups, you’ll need:
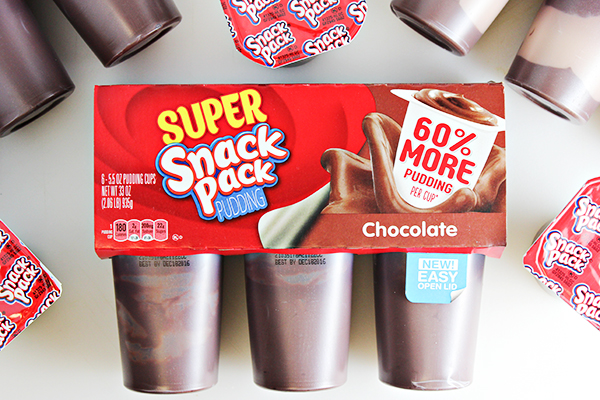
- Super Snack Pack Pudding (1 cup per guest)
- White fondant (about 1 1/2 tablespoons for 6 zombie hands)
- Pre-made Gum Paste (about 1 1/2 tablespoons for 6 zombie hands)
- Green Icing Color (I used “Moss Green”)
- OREO cookies (2 per pudding cup)
- Sliced almonds
- White cardstock, printer, and color ink for printing label
- Scissors, tape, knife, toothpick, etc.
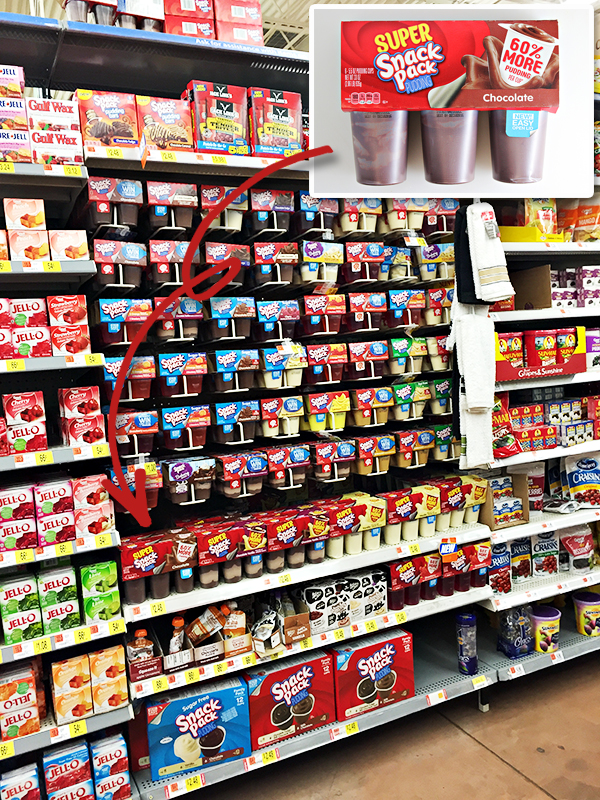
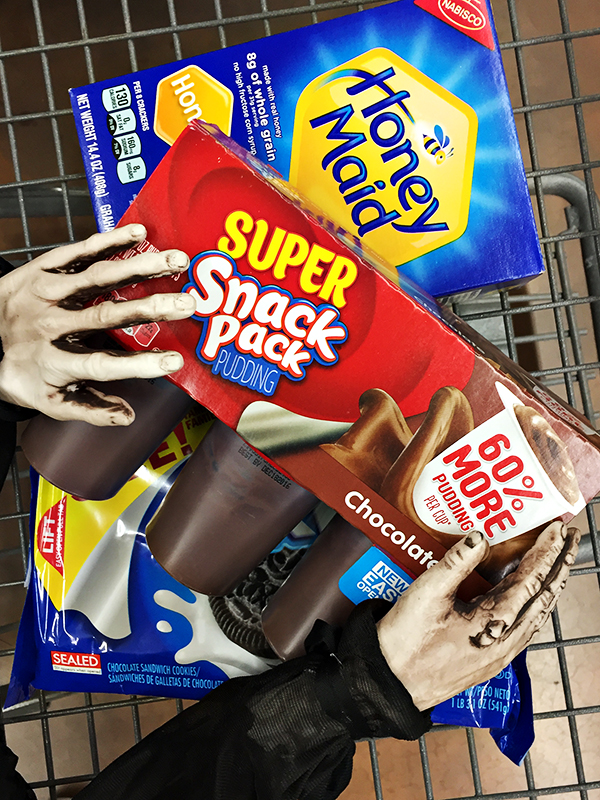
You’ll notice in the photo below that the Snack Pack Pudding Cups are the Super size. This size is perfect size for mixing in additional ingredients. I bought ours at Walmart – they have a whole section of Snack Pack Pudding in all sorts of flavors.
For this project, you can use any flavor, but I recommend getting chocolate or chocolate vanilla, since you want the pudding to resemble “dirt”. You’ll also be serving your treat right in the plastic cup provided. No sense in complicating this treat by spooning the pudding into another container – it’s convenient and ready-to-go right in the cup it comes in.
While Snack Pack Pudding is great all on it’s own (just ask our youngest son, he goes crazy for them), it’s even more fun to customize Snack Packs by mixing in other ingredients. When we went shopping, I wanted a mix-in that would help give the pudding a look even more like dirt, so I decided to buy both HONEY MAID Graham Crackers or OREOS to try.
When you’re at Walmart, there is a couple other things you’ll from the craft department too. Pick up some gum paste, white fondant, and green icing color (I used a color called “moss green”). You’ll need these items for your zombie hands.
At least 1-2 days before your Halloween party, you’ll want to make the zombie hands so that they will have time to harden. For every 4 zombie hands, you’ll need 1 tablespoon of fondant and 1 tablespoon gum paste (for 6, you’ll need 1 1/2 tablespoons of both). Knead both of them together. With plsatic gloves on, take a toothpick and stick it into the icing color and “wipe” the color on your fondant/gum paste. Knead the fondant/gum paste until the green is completely worked into it.
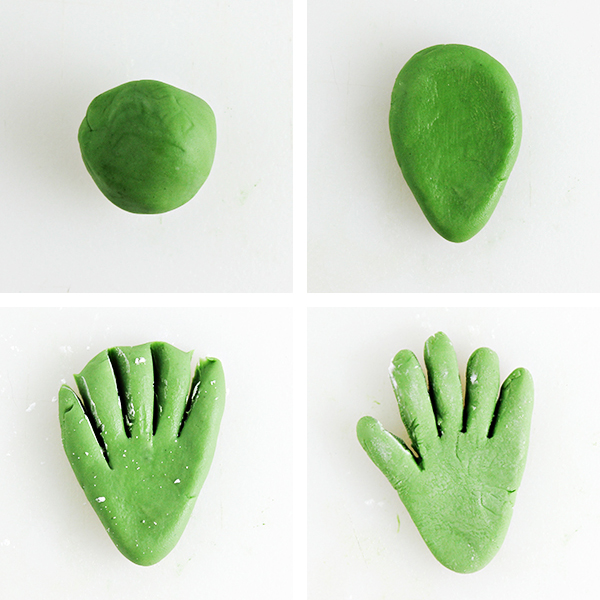
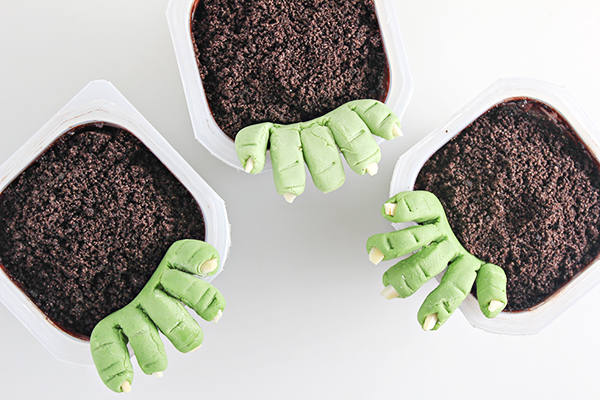
Form your fondant/gum paste combo into a ball, then flatten it and form an elongated tear shape. With a sharp knife, cut a thumb and 4 fingers near the top rounded part of the tear shape. Then, gently shape the fingers until you are happy with the look.
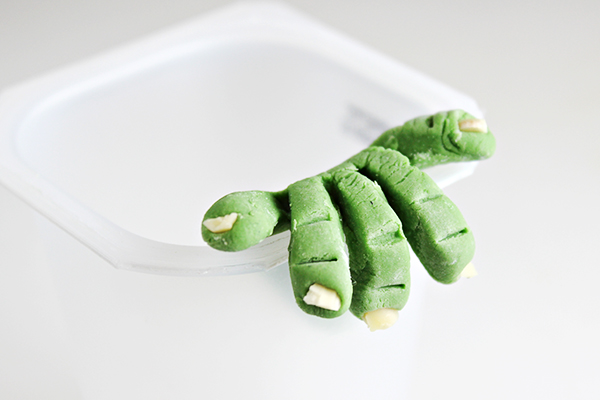
My favorite part is adding the “fingernails”. I used sliced almonds that I broke into uneven pieces. I pressed 1 piece into the end of each finger to resemble the name. With the top of my knife, I added indents to the top of the fingers to give the look of where joints may be.
To give the zombie hand a place to dry, use a clean and empty pudding cup. Just allow the fingers/thumb of the hand to hang on the top of the cup, shaping the fingers as necessary. One pudding cup will hold 4 hands, but after they are semi-firm, you can easily move them to the edge of a bowl to finish drying.
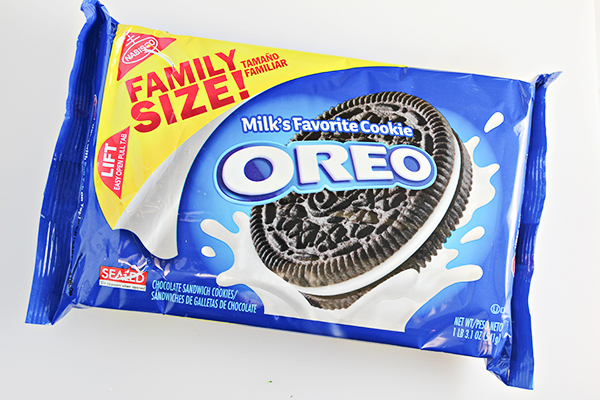
Just before you are ready to serve your Zombie Graveyard Pudding Cups, you’ll prepare the pudding with its mix-in’s. I decided to go with OREO’s because it would give the pudding the best “dirt” look and texture. You will need 2 OREO’s for every Super Snack Pack Pudding Cup you are serving.
In a food processor, crush the OREO’s until they are very fine. Mix 2 tablespoons of crushed OREO’s into each Super Snack Pack Pudding Cup. Then, sprinkle an additional 1 tablespoon of crushed OREO’s on the top of each pudding cup. If any OREO crumbs remain, divide between the cups.
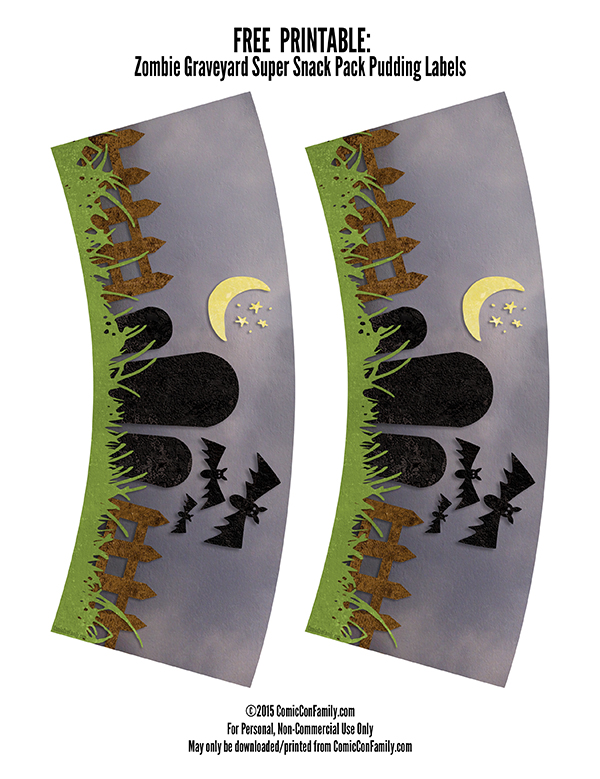
After mixing in the OREO’s and sprinkling them on top, add your Super Snack Pack Printable Label. To print, just click on the title or image below and print as many copies as you need. Cut out each label and wrap 1 around each Super Snack Pack Pudding Cup. Secure with tape.
FREE PRINTABLE:
Zombie Graveyard Super Snack Pack Pudding Cup Labels
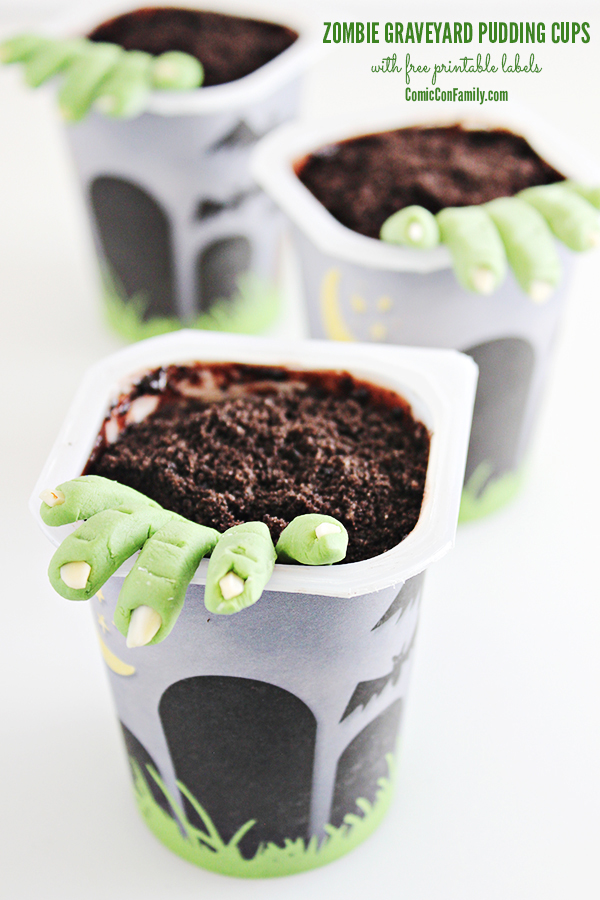
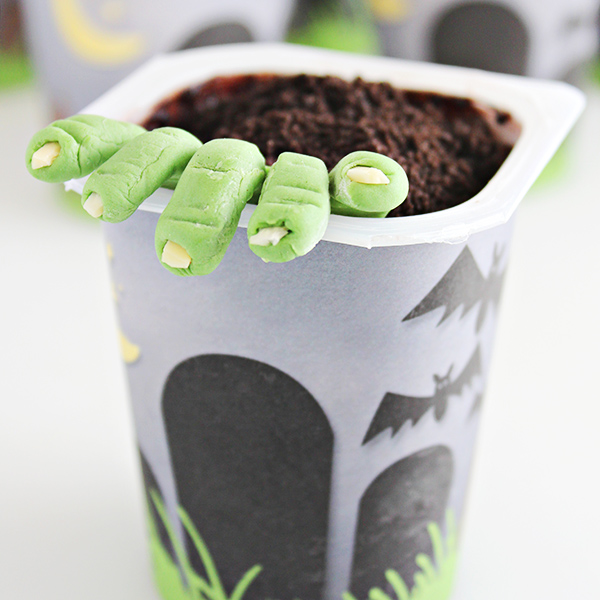
Now it’s time for the finishing touch: your zombie hand! Press the bottom/heel of the hand into the pudding cup, along one side of the Snack Pack Pudding Cup, with the fingers curling over the edge.
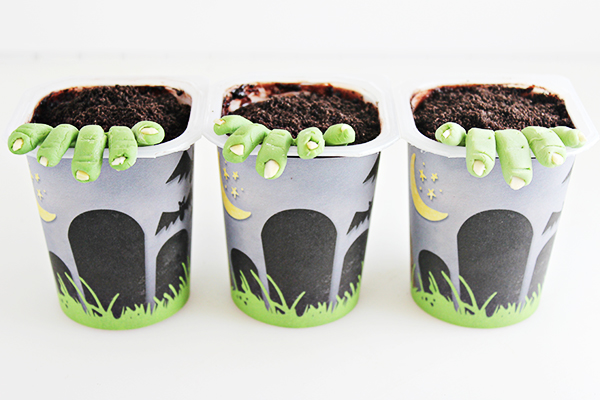
Your Zombie Graveyard Pudding Cups are ready! Place them on your table with spoons and serve.
I hope you enjoy my Zombie Graveyard Pudding Cups idea! I know our kids thought it was very cool. You can get even more ideas for Snack Pack Mix-Ins!



This is such fun!!
Thank you for sharing this recipe at Create, Bake, Grow & Gather this week. I’m delighted to be featuring your Halloween recipe at Friday’s party and pinning too.
Hugs,
Kerryanne
So fun and perfect for Halloween! Thanks for sharing with SYC.
hugs,
Jann
These are great! Halloween sure sounds like a lot of fun at your house. Thank you for sharing at Party In Your PJs!
These are so cute & creepy! My kids would go crazy for them. Thanks for sharing at Merry Monday!
What a special treat for all the spooks ! Thanks so much for sharing your post with us at Full Plate Thursday! Have a great week and come back to see us real soon!
Miz Helen
Those are absolutely adorable! What a great thing for a party, etc. 🙂 Pinning this to try for my family. 🙂
Oh my goodness, my hubby is a HUGE Walking Dead fan and these would be right up his alley! I am going to have to make these for our Halloween party! We just started the Whisk It Wednesday Link Party and thought you might want to share there too!
So creepy cute! Sharing on Fb. Thank you for sharing on Merry Monday! Hope to see ya next week!
Kim
Wow. These look like so much fun!! Thanks for sharing on More the Merrier Monday link party!!
What an amazing idea. These are so cute. Pin!
Thanks for sharing at the #InspirationSpotlight party. Shared.
What a fun idea! Included in my roundup today for Dream Create Inspire. Thanks for linking up with us!
My first thought was I could make these for my sons class party…my second thought was 22 hands would be time consuming! My third thought was oooh I can do the tombstone cookies in some and accent with a few hands!
Thanks for the inspiration!?
Michelle
They look like so much fun and delicious!! Thanks for linking up at the Family Joy Blog Linkup party! Pinned your post to our Pinterest party board 🙂
These are so cute. The almonds for fingernails are certainly spooky. Thanks for sharing at the #HomeMattersParty – hope to see you again this weekend.
Sufficiently scary! I’m so happy you joined our #OMHGWW linkup party this week!
Shellie
http://www.thefabjourney.com
These look so great! My kids would love this idea! I love the little hand, ugh that is too darn “spooky”. I need to make for this Halloween! Thank you so much for sharing at #ThrowbackThursday we hope to see you again this week!
I am a huge Zombie ‘fan’. This is just AWESOME! My husband loves this too…and is now constantly nagging for some 🙂 Thank you so much for sharing!
Joanita @ Snickerdoodle Sunday
ADORABLE! Okay, maybe I should say spooky (but in an adorable way). Thanks for sharing on the Creative K Kids Tasty Tuesdays Link Party. I hope you join us next week.
This is so cute! Thank you for sharing this great idea & the labels! I agree that the fingers would be yummy made of marzipan! I hope to make this tomorrow for snacks when the grandkids come after school!
I absolutely love these. Great idea!
I bet those fingers would be cute and delicious with marzipan! This is too much fun, I think I’m going to borrow this for our league potluck! #client
Think that is a good idea