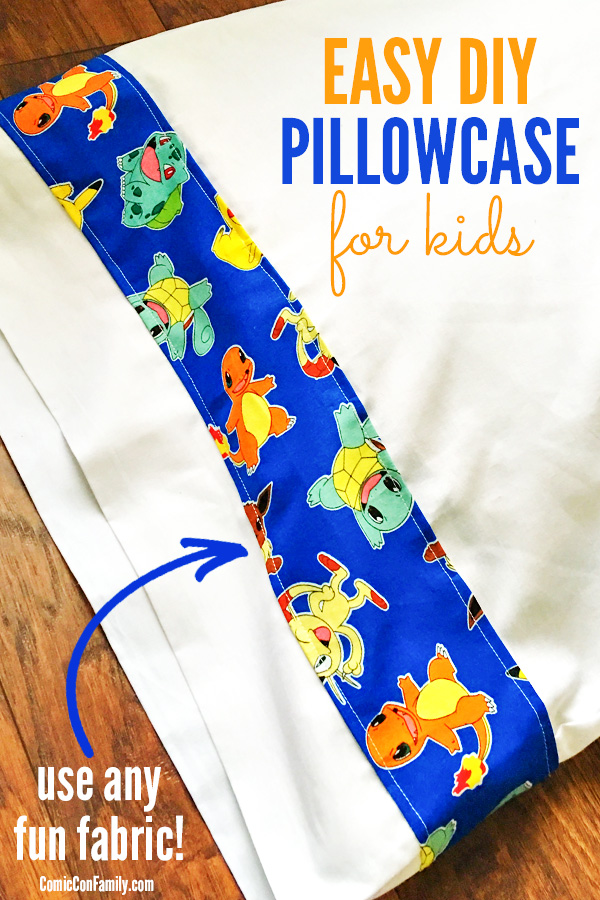
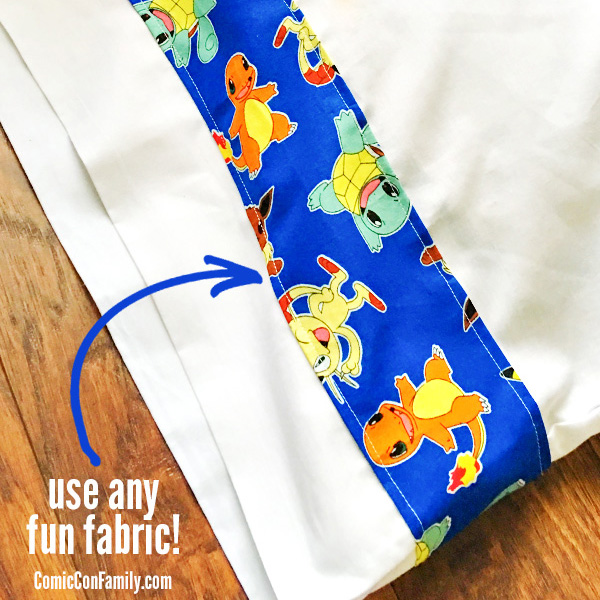
Grab a pillowcase and give it a fun makeover! This Easy DIY Pillowcase for Kids craft tutorial needs just one pillowcase (old or new), fun fabric (like Pokemon, Star Wars, etc), and some basic sewing skills and you’ll have a cool pillowcase that any kid will love. Frugal gift idea too!
Disclosure: This post contains affiliate links which help to support the work on this blog.
Years ago when our kids were very young, I created Christmas pillowcases using nothing more than a strip of Christmas fabric, a white pillowcase, and my extremely basic sewing skills. They were just like the ones you see in the photos in this post, except that they were Christmas themed. These pillowcases started a Christmas tradition that lasted year and years. Every December 1st, they would start using their Christmas pillowcase, all the way through Christmas Day.
After a trip to the fabric store and seeing all the fun fabric that is available these days — Pokemon, Star Wars, Captain America, and so much more. I got to thinking about how great these fabrics would be on a pillowcase, in the same style as the Christmas ones I made years ago.
If you’ve seen these fabrics in the store, they are usually a bit more pricey than your basic colors and patterns. But the great thing about this DIY Pillowcase Makeover Tutorial for Kids is that you will only need a bit of fabric for each pillowcase you make. For the pillowcase, you can either recycle an old pillowcase or pick up a basic white pillowcase (you can another color, if you wish).
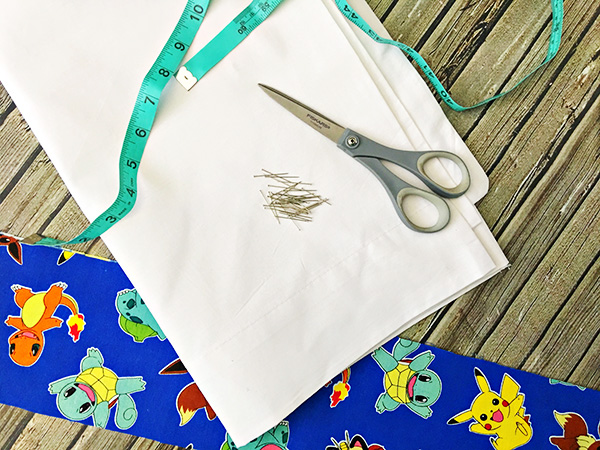
Easy DIY Pillowcase Makeover Materials:
- Pillowcase (old or new)
- Cotton Fabric (such as the Pokemon fabric in this tutorial)
- Sewing Pins
- Scissors
- Sewing Machine
- Measuring Tape
- Iron/Ironing Board
Easy DIY Pillowcase Makeover Instructions:
1. Wash and dry your pillowcase and fabric to remove any sizing. Iron both your pillowcase and fabric.
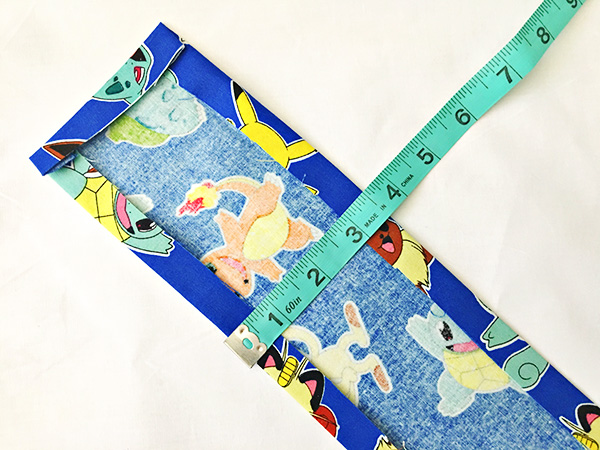
2. Measure and cut your fabric. You need enough to go around the entire width of the pillowcase. You will also want to allow for an extra 1/2″ on all edges. For a king size pillowcase, the measurements are approximately 4 1/2″ wide x 21″ long, but you’ll have to adjust length if you are using a smaller pillowcase.
3. Iron edges of fabric in on a edges, approximately 1/2″.
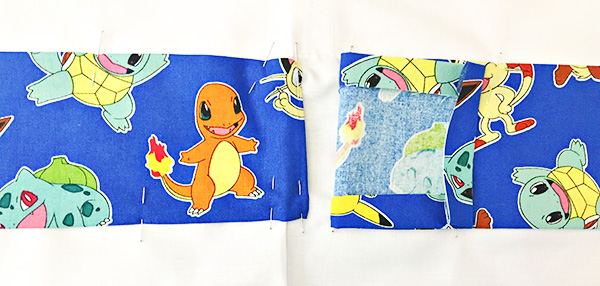
4. Pin your fabric strip right side up on the edge of the pillowcase. Place this strip near the edge of the opening of the pillowcase. The exact placement is up to you — you can be very close to the opening of the pillowcase (only allowing about 1/2 – 1″ to show) or allowing more to show as seen in our photos.
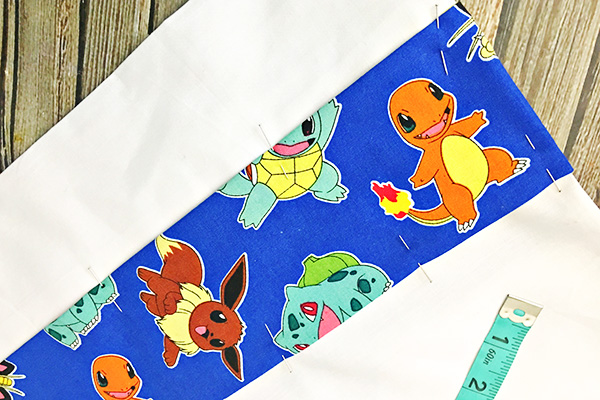
5. Sew along the edges of both sides of your fabric to attach the strip to pillowcase.
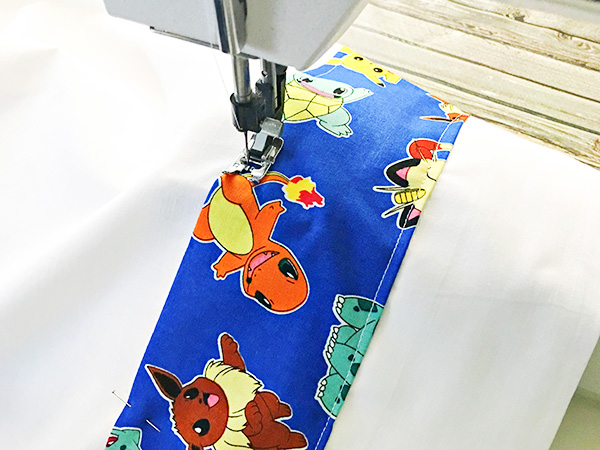
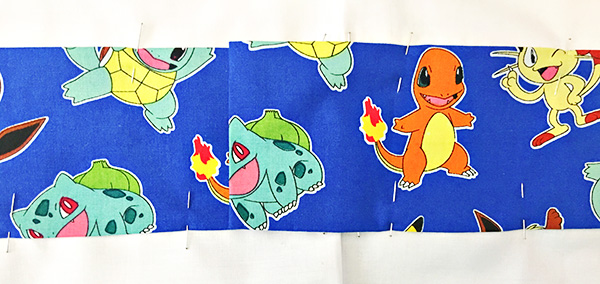
6. Work your way around the pillowcase, continuing to sew the fabric strip to it. Once you get to the end, sew together your two end pieces of fabric.
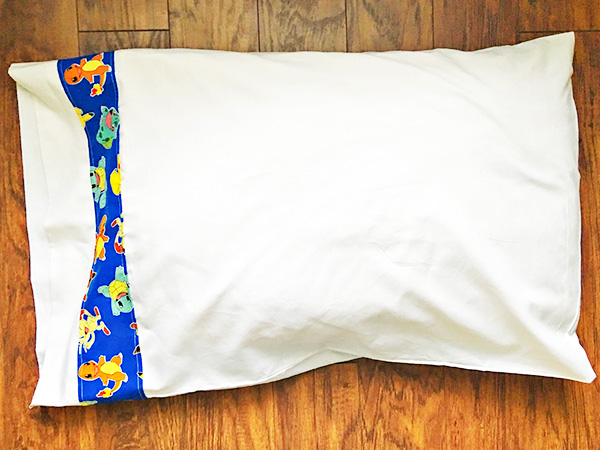
7. And, tada! You’re easy DIY pillowcase for kids is done!
This is a quick and easy gift idea too. If making for several kids in the same family, pick different fabrics for their favorite TV shows or movies.
If you make this project, we’d love to see your creations! Leave us a comment, share with us on social media (instagram is a great way – tag us @ComicConFamily in your photo), or send us an email.



Love the fabric!
What a super cute project. I will be featuring this at my Sizzle into Summer party that opens tonight at 8pm EST. Please stop by and pick up an I’ve Been Featured button. Thanks. http://diybydesign.blogspot.com
What a cute and simple idea! I can’t wait to surprise my boys with some of these. Pinned.