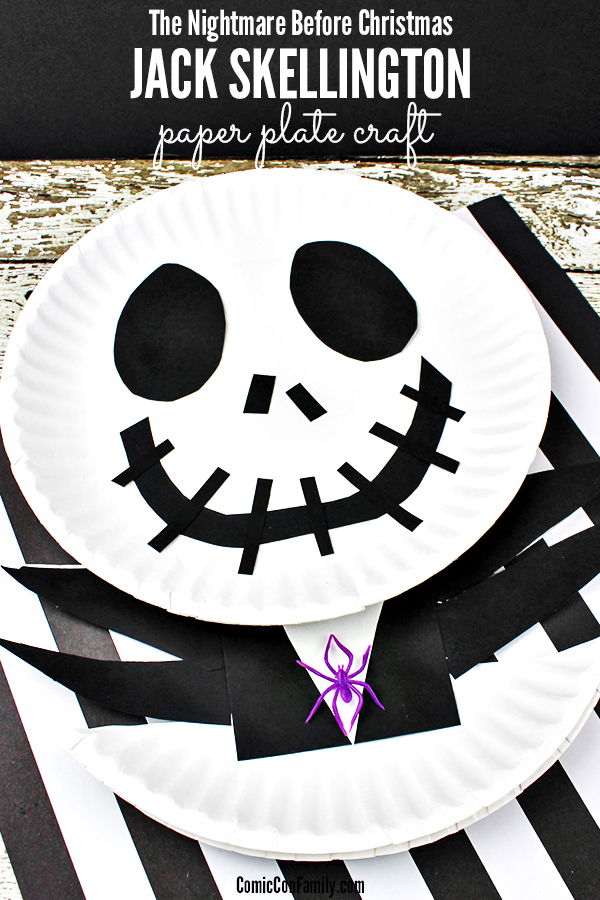
This easy Jack Skellington Craft for Kids is a must if your family loves The Nightmare Before Christmas movie! You’ll only need a few supplies, such as paper plates, construction paper, and glue.
One of my most favorite movies is The Nightmare Before Christmas. I love the story, the music, the imagery, but most of all, I love the characters — especially Jack Skellington! Every years while I’m attending Diego Comic-Con, one of the days I am there, I always dress in my Jack Skellington inspired clothes.
If you have kids who also love The Nightmare Before Christmas, we have a fun and easy Jack Skellington craft for kids that you can do, just in time for Halloween.
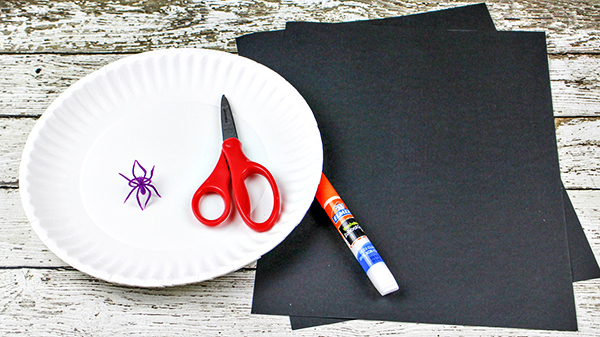
Jack Skellington Craft Supplies:
White Paper Plates (1 “whole” plate & 1 cut in half)
Black Construction Paper (2 pieces)
Scissors
Glue Pen
Plastic Spider Ring
Jack Skellington Craft Steps:
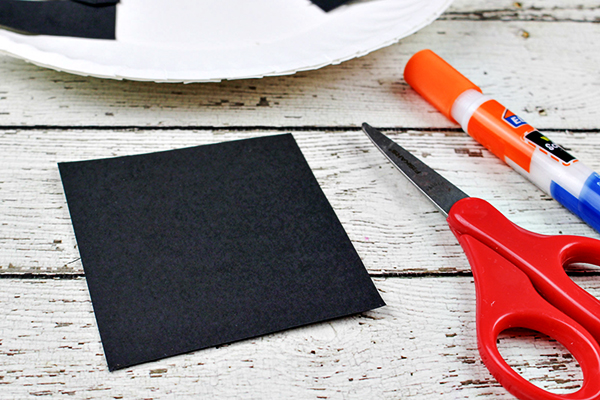
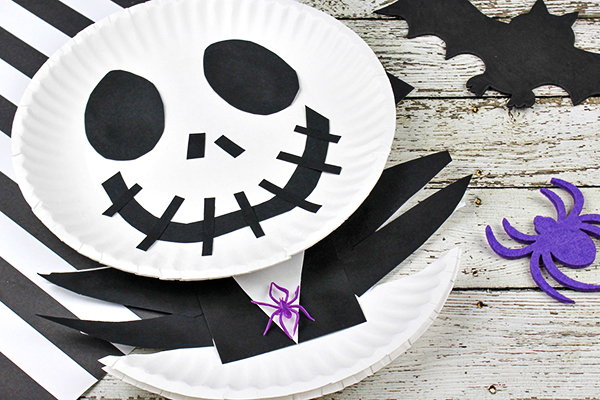
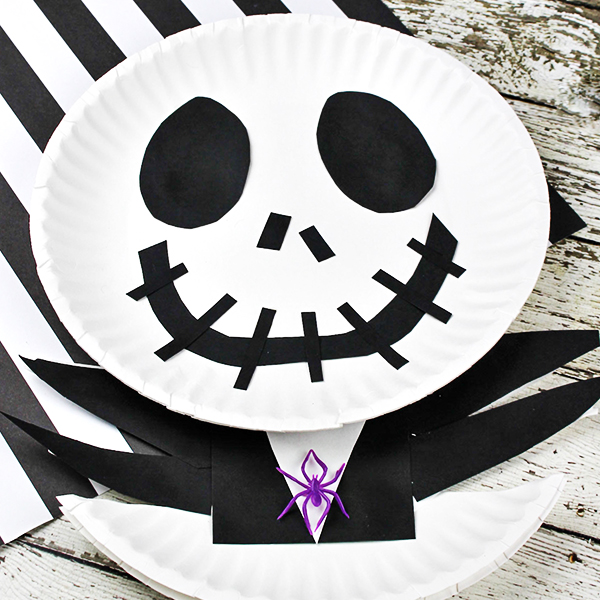
Cut out 2 large oval shapes from the black construction paper for Jack Skellington’s eyes. Cut out 2 one inch rectangles for Jack’s nose.
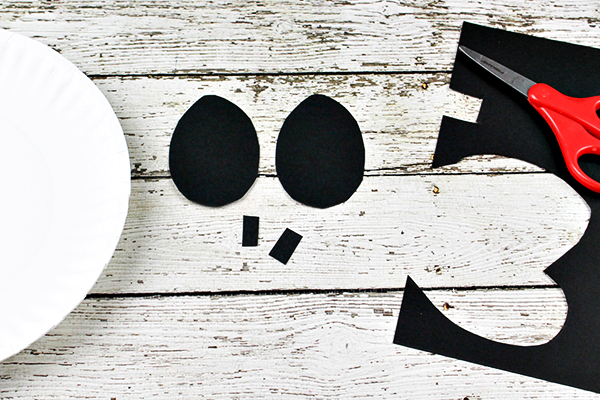
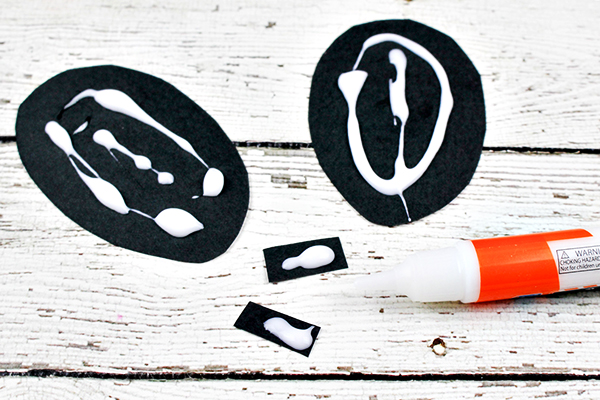
Apply glue to the back of both eyes and both nose pieces affix to the round (full-size) paper plate.
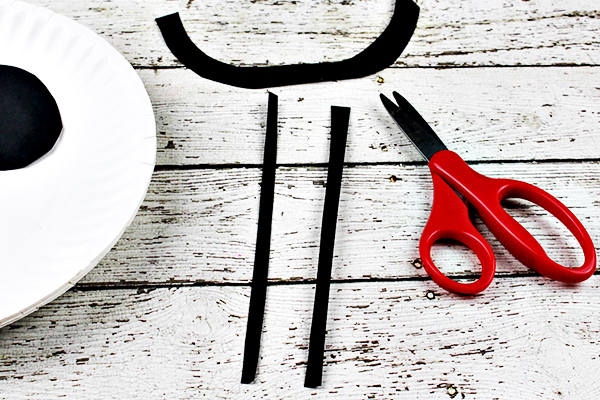
Cut out a smile from the black paper. You might find it easier to draw the smile first on the paper and then cut it out. Also, cut out two long skinny strips – these will be used to make the stitches that go over Jack’s mouth.
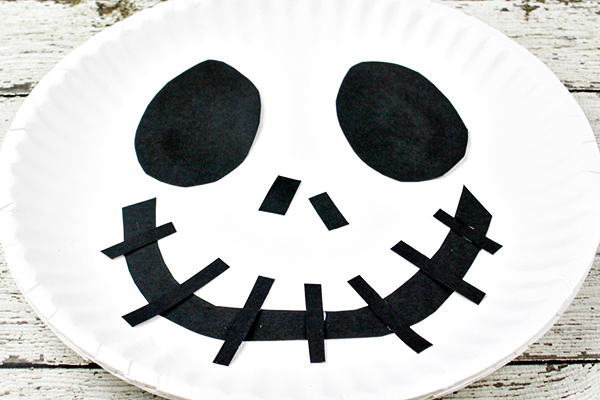
Using the glue pen/stick, glue the smile to the plate. Using your long skinny strips, cut them into 6-8 one inch pieces to resemble the stitches on Jack Skellington’s mouth. Apply glue to the back of each piece and place over Jack’s mouth. Space each piece evenly.
Take the 1/2 plate (with the round part facing downward) and cut 3 jagged “ruffles” on each side (see pic).
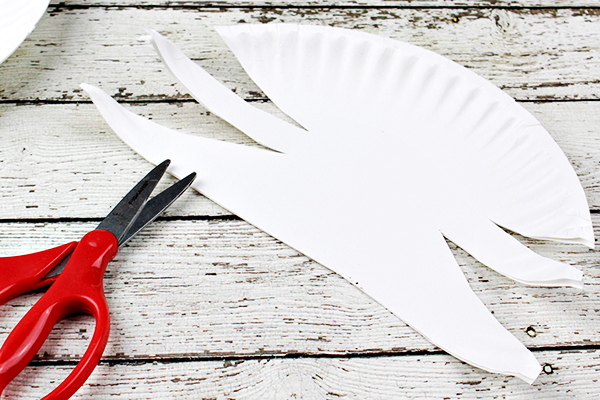
Turn the 1/2 plate over and lay on top of a piece of black paper. Cut out black paper using the paper plate triangle collar ruffles as a guide so you will have black pieces that match long skinny collar triangles on the paper plate. Apply glue to the back of the black pieces and place over the paper plate collar trianagles so they are now Jack’s black collar.
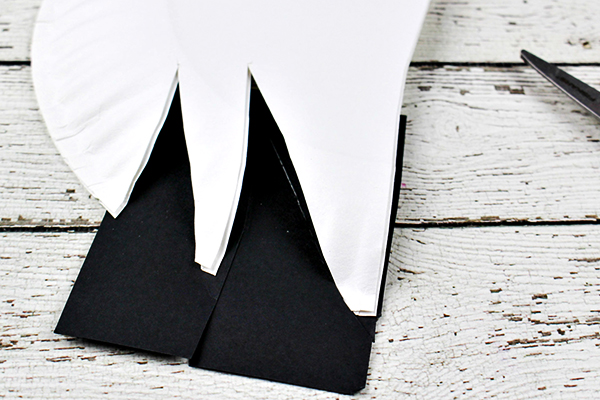
Cut out a large square from the black paper and glue it in the middle of the 1/2 plate. This square should cover up the non-pointy ends of the black collar. This will represent Jack’s shirt.
Glue a white triangle (cut from center of leftover white paper plate) in the middle of Jack’s shirt. Apply a line of glue to the top of Jack Skellington’s shirt and place the bottom of Jack’s head on top. Hold in place to help the glue adhere to the top plate.
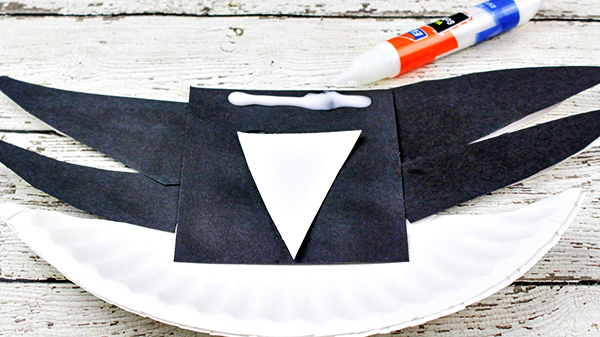
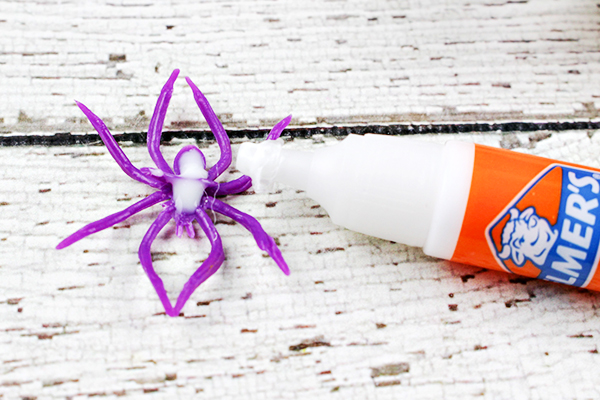
With a scissors, cut off the ring part of the plastic spider ring. Pipe glue on the underside of the spider ring and place in the middle of Jack’s shirt, towards the bottom of the white triangle. Hold in place firmly to allow the glue to “set.”
Note: Yes, I know that Jack Skellington doesn’t have a “spider” on his costume, but this is an easy & fun way to complete the look. Feel free to cut out a design that matches more exactly, if you wish.



This is so cute! I hope you will share it with us at The Crafty Corner link party this week. 🙂